Tech Talk · Maintenance Guide
How to Bed In Bike Brake Pads: The Complete Step-by-Step Guide
You’ve just installed a fresh set of bicycle brake pads. Great. But if you skip the bedding-in process, you’re leaving braking performance on the table.
Properly bedding in your bike brake pads is the single most important step to achieve consistent stopping power, extend pad and rotor life, and eliminate brake judder. Whether you ride road, gravel, or mountain bike, this guide walks you through the exact process, step by step.
What Is Brake Pad Bedding-In — and Why Does It Matter?
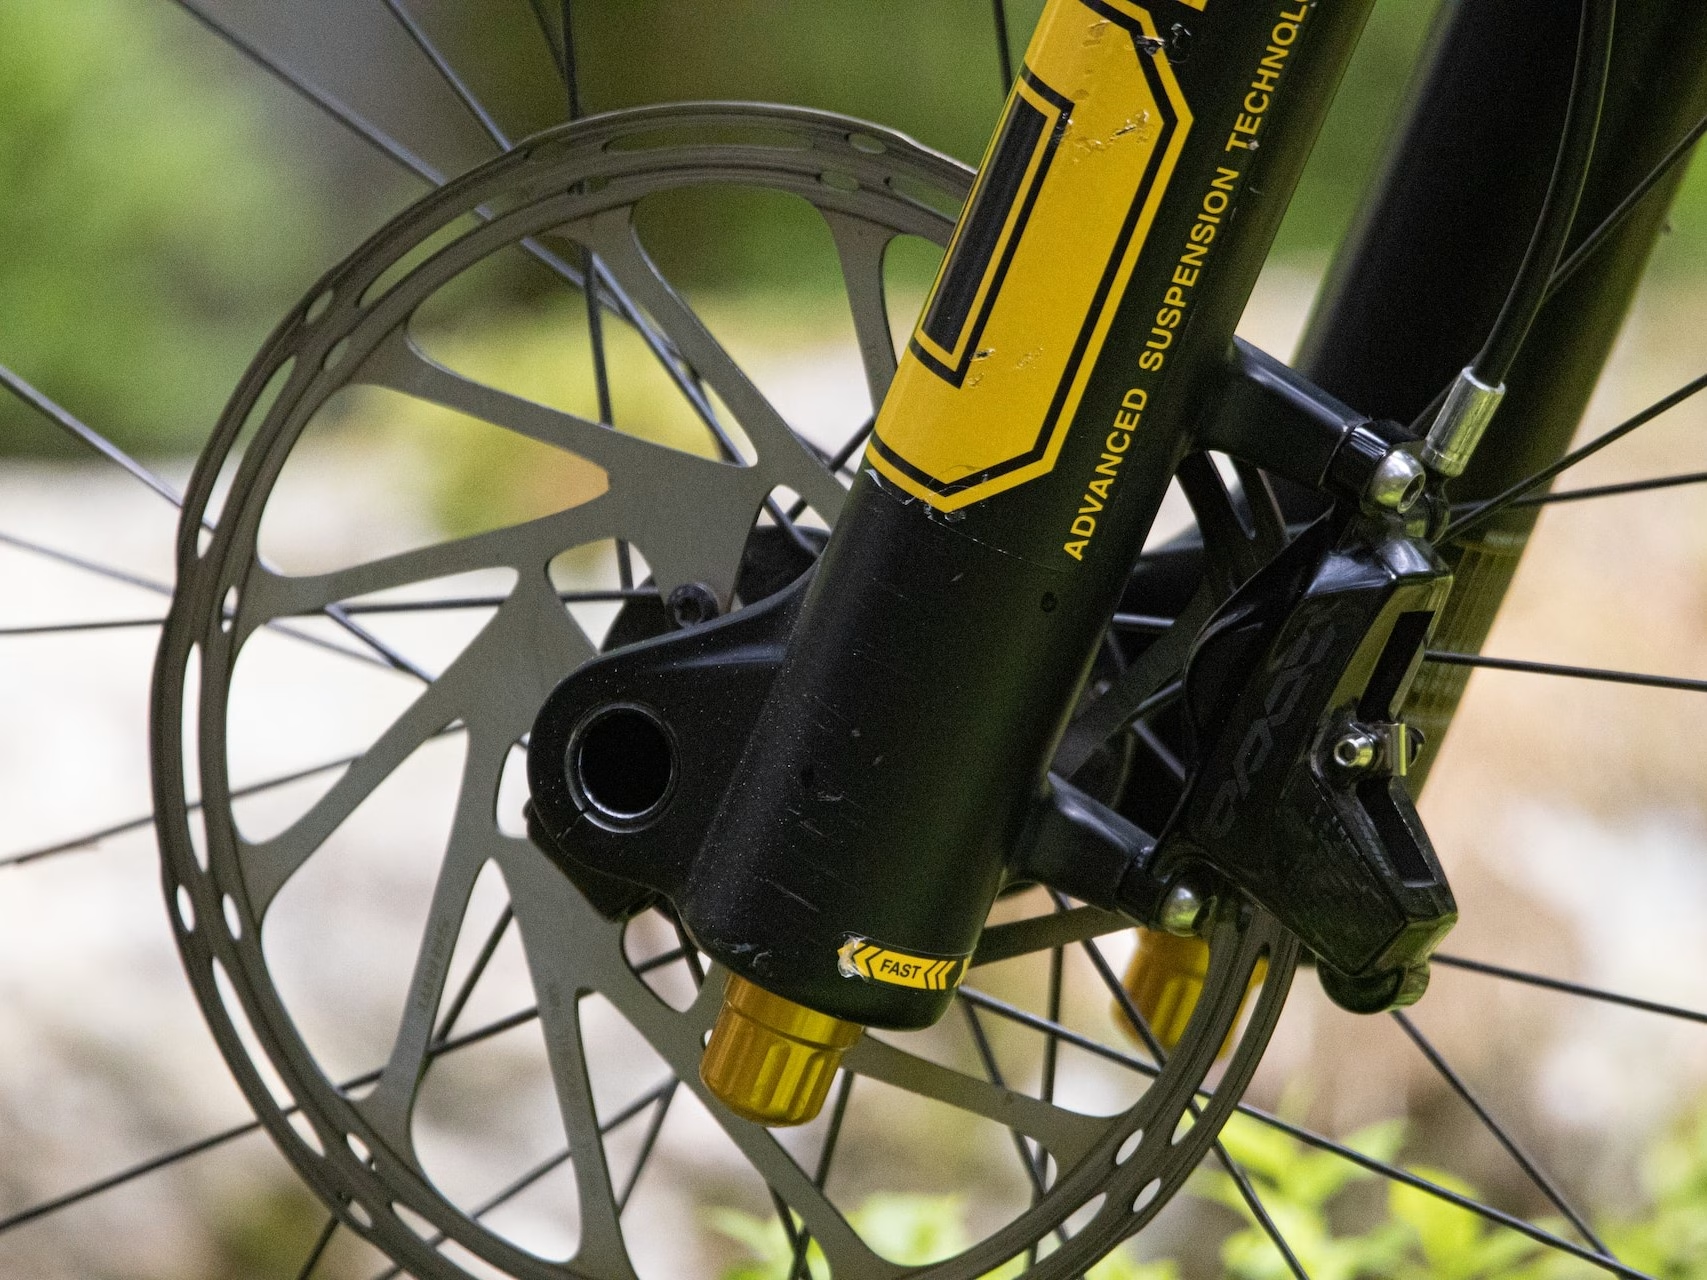
Brake pad bedding-in (also called break-in or burnishing) is the process of transferring a thin, even layer of friction material from the brake pad onto the rotor surface.
Without this layer, your braking will feel inconsistent, grabby, or weak, no matter how premium your pads are. A properly bedded brake system delivers a smooth, progressive feel and maximizes the contact surface between pad and disc for optimal heat management and modulation.
Step 1 – Choose the Right Location
Before you start, find a traffic-free environment, an empty car park, a quiet road, or a smooth trail section. Ideally, choose a spot with a slight downhill gradient so you can reach speed without exhausting your legs.
⚠ Avoid wet, muddy, or sandy surfaces: inconsistent traction will skew the bedding-in results.
Step 2 – The First (Gentle) Braking Cycles
Begin at a low speed of around 15 km/h (10 mph). Apply the brakes with light-to-moderate pressure, slowing down almost to a complete stop but without fully locking the wheel or coming to a dead halt.
Repeat this cycle × 15, progressively increasing braking force with each pass. The goal is to gradually heat the pads and rotor, allowing the friction material to begin transferring evenly onto the disc surface.
Step 3 – The Cool-Down Phase
After completing your first series of cycles, let the brakes cool passively, roll slowly for a minute or two without touching the levers.
Heat cycling is a critical part of the bedding process: alternating between heat buildup and cool-down helps cure the pad compound and set the transfer layer correctly.
⚠ Never leave the brake lever slightly pulled during cool-down — this causes uneven material deposit and glazing on the rotor.
Step 4 – The Second (Harder) Braking Cycles
Once the brakes have cooled, increase your speed to 25 km/h (15 mph) and repeat the same progressive braking sequence, another × 15, ramping up pressure with each pass.
By this point, you should start to feel the braking response become sharper and more consistent.
Still vibrating or squealing? Allow more cool-down time before continuing, don’t force the process.
Step 5 – Performance Check
With the bedding-in cycles complete, test your brakes across different speeds and surfaces: tarmac, gravel, hardpack trail. Braking should feel smooth, linear, and progressive, with no juddering, pulsing, or grabbing.
Still inconsistent? Run an additional 10 gentle cycles. Metallic (sintered) pads typically require more cycles than Organic (resin) pads, don’t rush the process.
Common Mistakes to Avoid During Bike Brake Pad Break-In
- 🛑 Sudden hard stops. The #1 mistake. They cause uneven pad material transfer and can glaze both pad and rotor, permanently degrading performance.
- 🤚 Touching the rotor with bare hands. Skin oils contaminate the surface and kill braking power instantly. Always handle rotors by the edges.
- 🧴 Lube or spray near the brakes. Keep chain lube and any aerosol far from the disc and pads during their entire lifetime.
- 🔥 Parking with a hot rotor against the pads. This creates high-spots on the disc and causes brake judder from day one.
Quick Reference Summary
- Find a safe, traffic-free area with a slight slope
- 15 cycles at 15 km/h, light to moderate braking
- Cool-down phase, no dragging brakes
- 15 cycles at 25 km/h, moderate to firm braking
- Final performance test across varied surfaces
- Be patient, rushing the process defeats the purpose
Need New Brake Pads? Shop AMP Brake Pads
Whether you ride road, gravel, or mountain bike, AMP Braking Components offers a full range of high-performance bicycle brake pads engineered for consistent, fade-resistant stopping power.
Browse our catalog to find the right compound for your riding style and get the most out of your rides.